The Academic Art of Riding is mainly based on the knowledge of the five greatest riding masters of history which are Xenophon, Pluvinel, Newcastle, Guérinière and Steinbrecht and aims to bring the Historical Art of Riding from the past back to life again.
The horse must be trained according to its abilities, concerning both body and mind. Thoughtful gymnastic exercises will keep the horse healthy and long living.
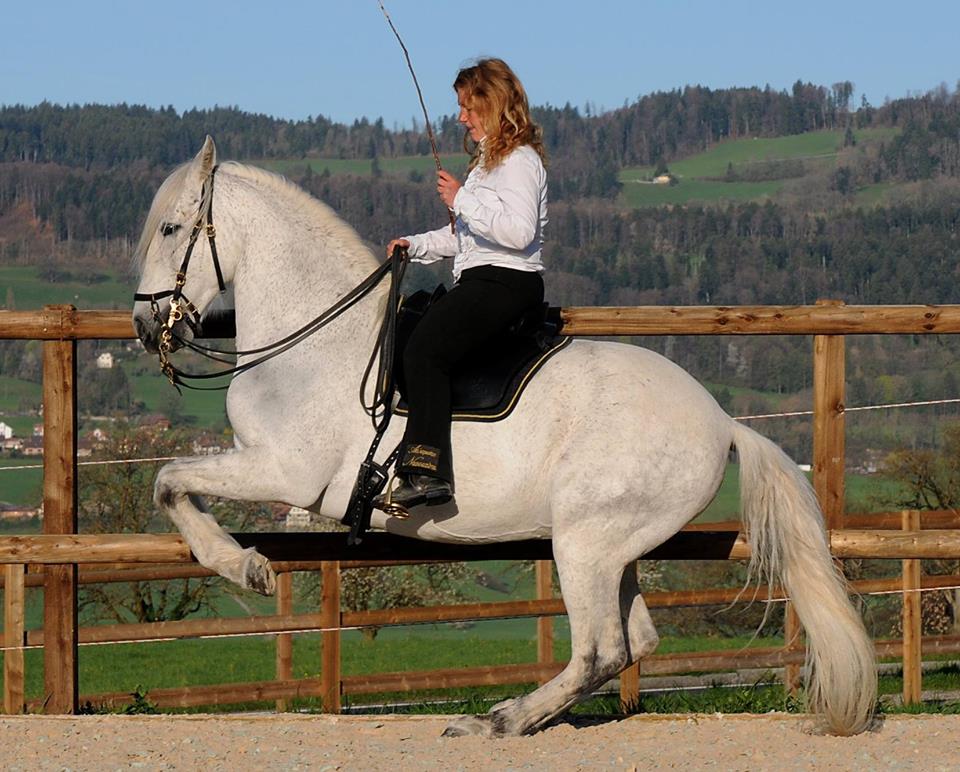
The academic riders see riding as an art form, an art of movement – like ballet.
Dressage for the horse
The foundation of the Academic art of riding is good basic training, like the training of a working horse, but the knowledge of the rider should be developed before he goes to practice.
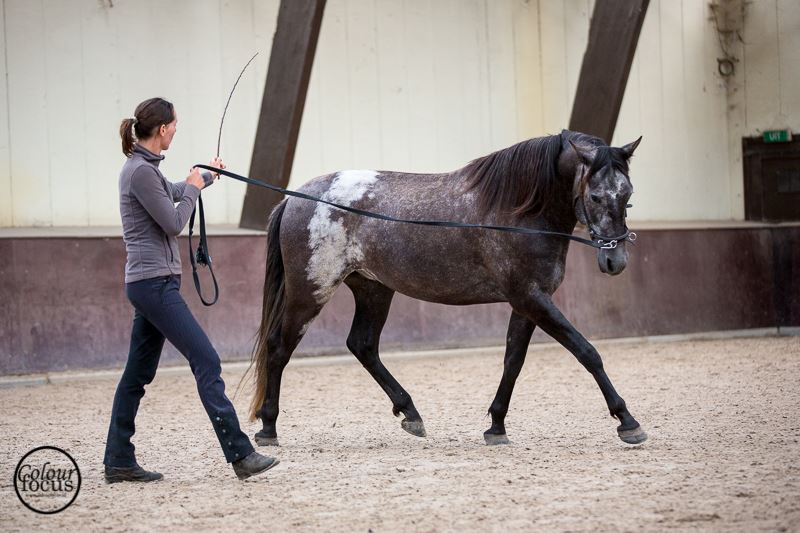
The schooling starts with the ground work and lungeing with the cavesson. During the training you develop secondary aids (communication), preparing the horse to be ridden.
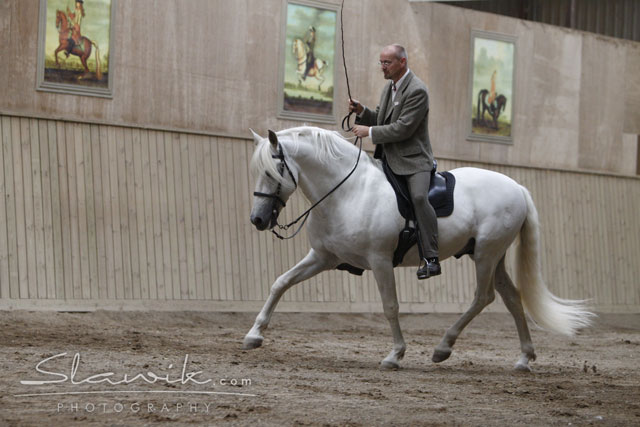
In the Academic art of riding we see the seat as a primary aid. As Pluvinel, who died in 1620, said: “My main goal is to ride the horse only from the seat.” The seat is the only aid you cant stop using when you are sitting on a horse. All other aids are only used to explain when the horse didn’t understand those given from the seat. This means of course that the education of the seat is a long journey for most riders.
Because of the thorough basic training, the rider and horse become partners who work together in harmony. The horse must be trained according to its abilities, concerning both body and mind. Thoughtful gymnastic exercises will keep your horse healthy and long living.
The two minds must want what the two bodies can.
The philosophy is that dressage was created for the horse, rather than the horse being created for dressage. This method of education is suitable for all breeds and all riders.
Stages of the academic art of riding
As Newcastle said: “The whole art is to put him well up on his haunches.”, which is education of the joints of the hindquarter. Before you start to work the hindquarter, you need Steinbrechts knowledge about how to give shape to the spine...
Already Xenophon brings, in the fourth century before Christ, the whole art into a nutshell with the scentece: “Ride the hindlegs forward inunder the stomach of the horse, and give the horse a halt so that he bends in all the joints of the hindquarter.”
Before you can go into such a professional work you must see yourself as a learner and during that period you need a relaxed basic shape in your horse, while learning communication.
The academic ladder
Step 0 – basic horsemanship
The young horse must first learn how to respond to the body language and other aids of the trainer.
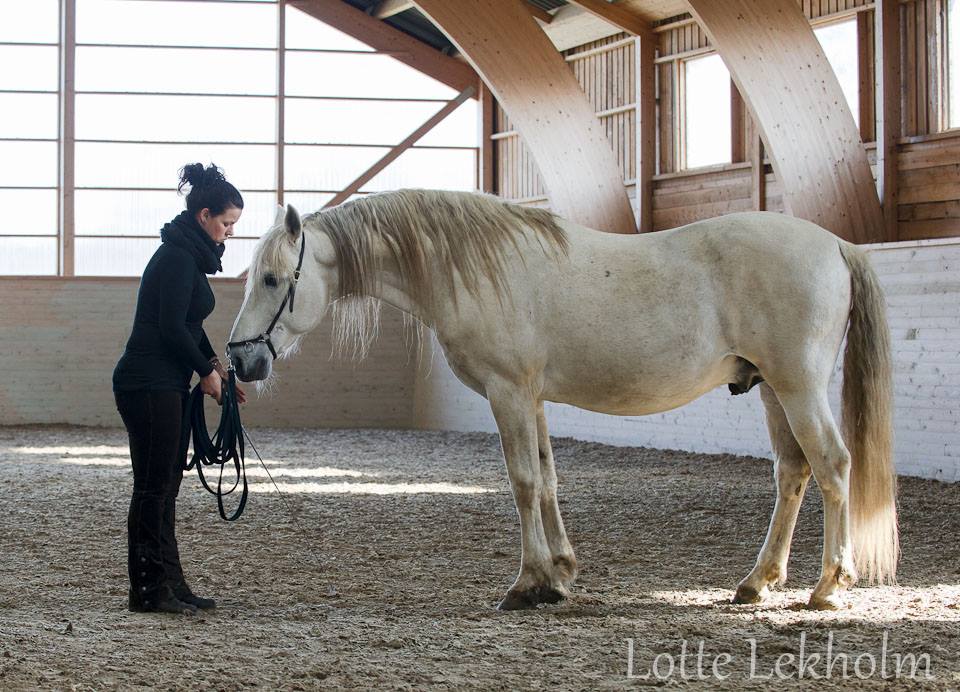
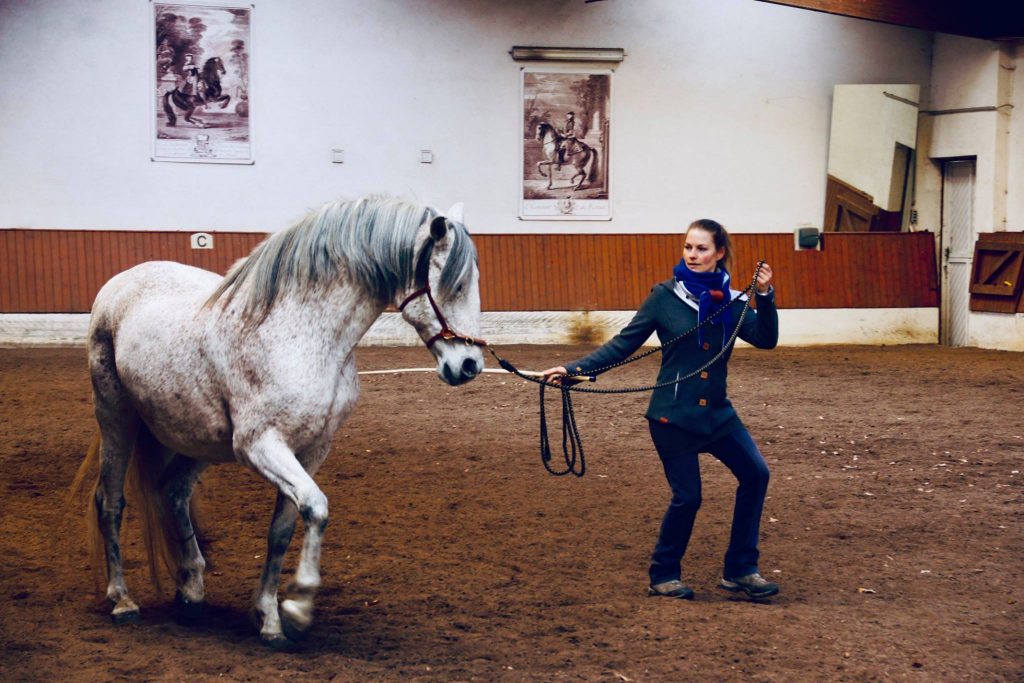
Step 1 – groundwork
We start with stellning and bending in standing, using a cavesson. In this first training the horse will also learn to step under his point of weight with his hindlegs and start some lateral movements. The goal of this is to establish a communication between trainer and horse, and to get the horse used to shaping his body and taking aids from the trainer.
Step 2 – lungeing
On the lunge, the horse learns to respond to the aids of body, voice, lunge and whip in the basic gaits.
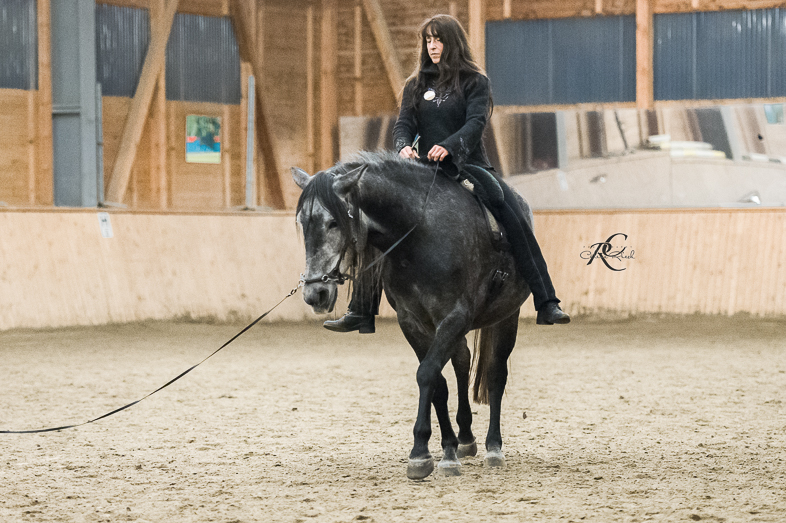
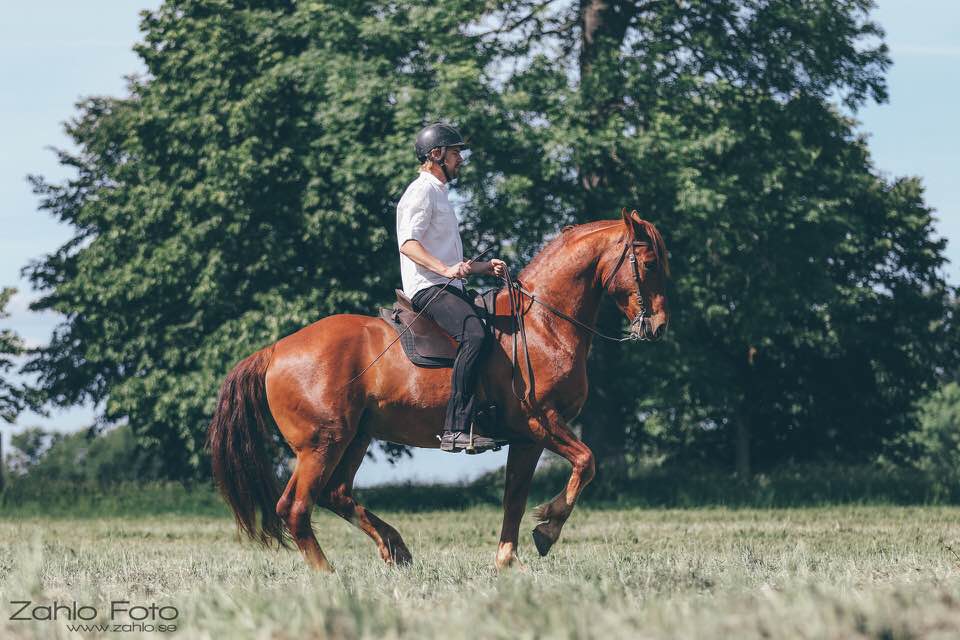
Step 3 – starting to ride
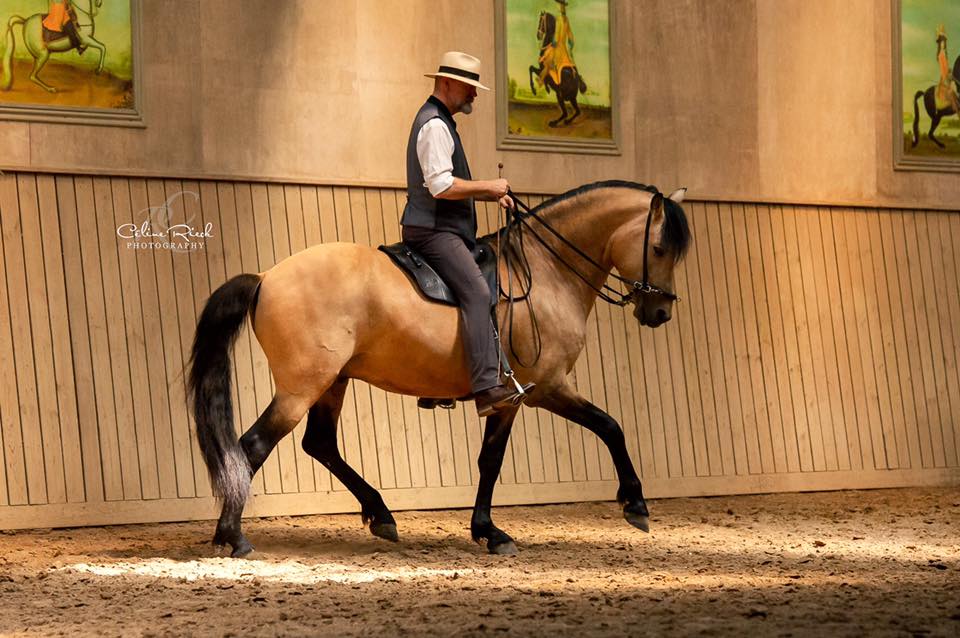
The horse gets used to a person sitting on his back and learns the aids of the rider.
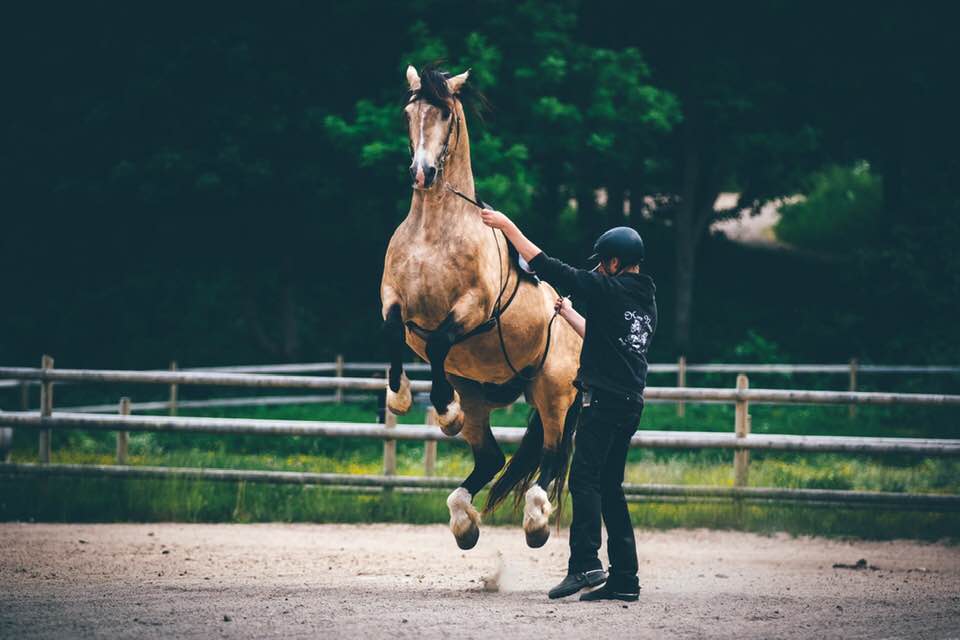
Photo by Céline Rieck

Step 4 – circle
The bent horse can follow the line of his bending, and through lateral movements can end up in the perfectly bent circle.
Step 5 – shoulder-in
In shoulder-in, we work on an increased bending and training of the inside hind leg.
Step 6 – quarter-in
Increased bending and training of the outside hind leg.
Step 7 – straightness training
Through bending and symmetrical training, the horse is made more supple on both sides, enabling the horse move evenly to both leads.

Step 8 – shaping the top line
The horse brings his back up and can carry the rider with muscles that develop and become stronger in all gaits, stretching and lengthening the top line.
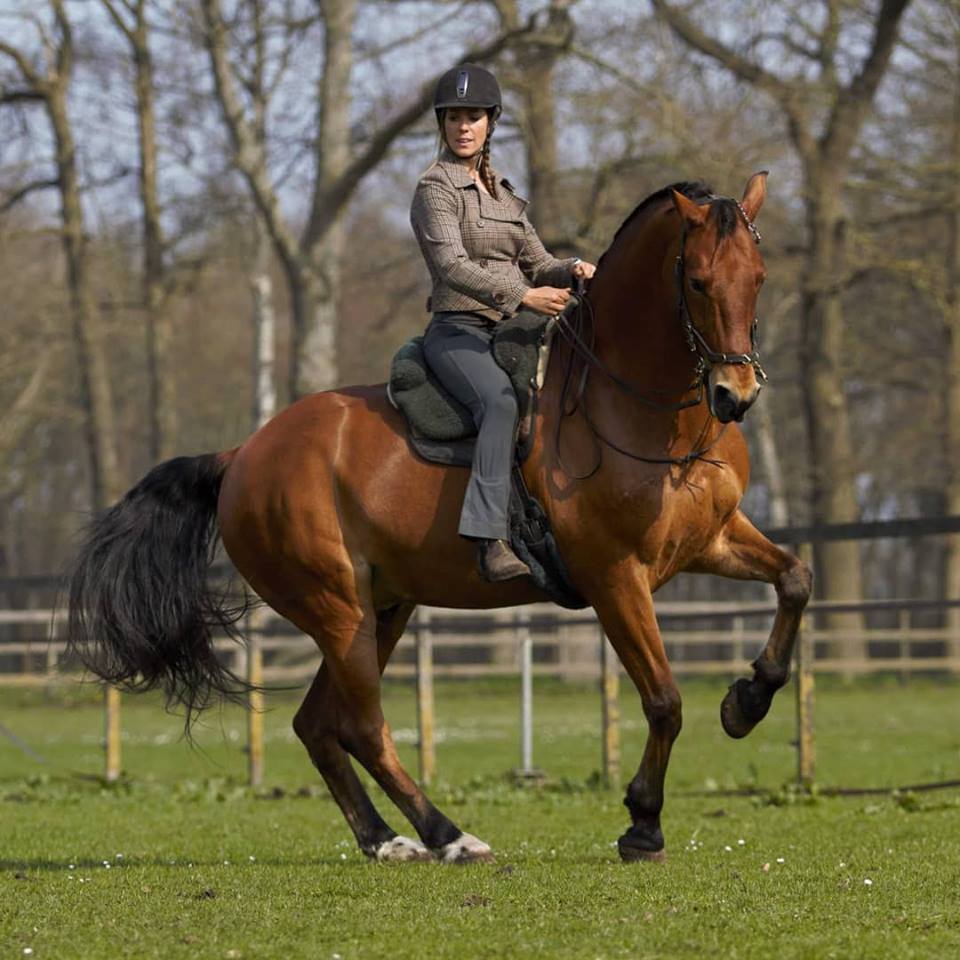
Step 9 – piaffe and collection
The horse can carry more weight on the hindquarters into schoolwalk, piaffe and schoolcanter.
Step 10 – pirouette and carré
The outside hind leg is brought in onto the circle until the horse can make the pirouette.

Step 11 – flying change
Control of the shoulders and hips in all gaits will lead to the flying change in canter by changing the position of the hips of the horse.
Step 12 – passage
The horse develops a swinging back combined with an upward push in his hind legs without losing the carrying abilities.
Step 13 – levade and school-halt
The horse carries 100% of his weight on the hind legs.

Step 14 – terre à terre
The horse moves forward out of the levade by putting his front legs down and making a jump with both hind legs simultaneously and then doing the next levade.
Step 15 – schools above the ground
These exercises require the most powerful performance of the hindquarters. The horse makes one or more jumps with a landing on his hind legs.

Step 16 – capriole
The crown of the Academic Art of Riding.
.